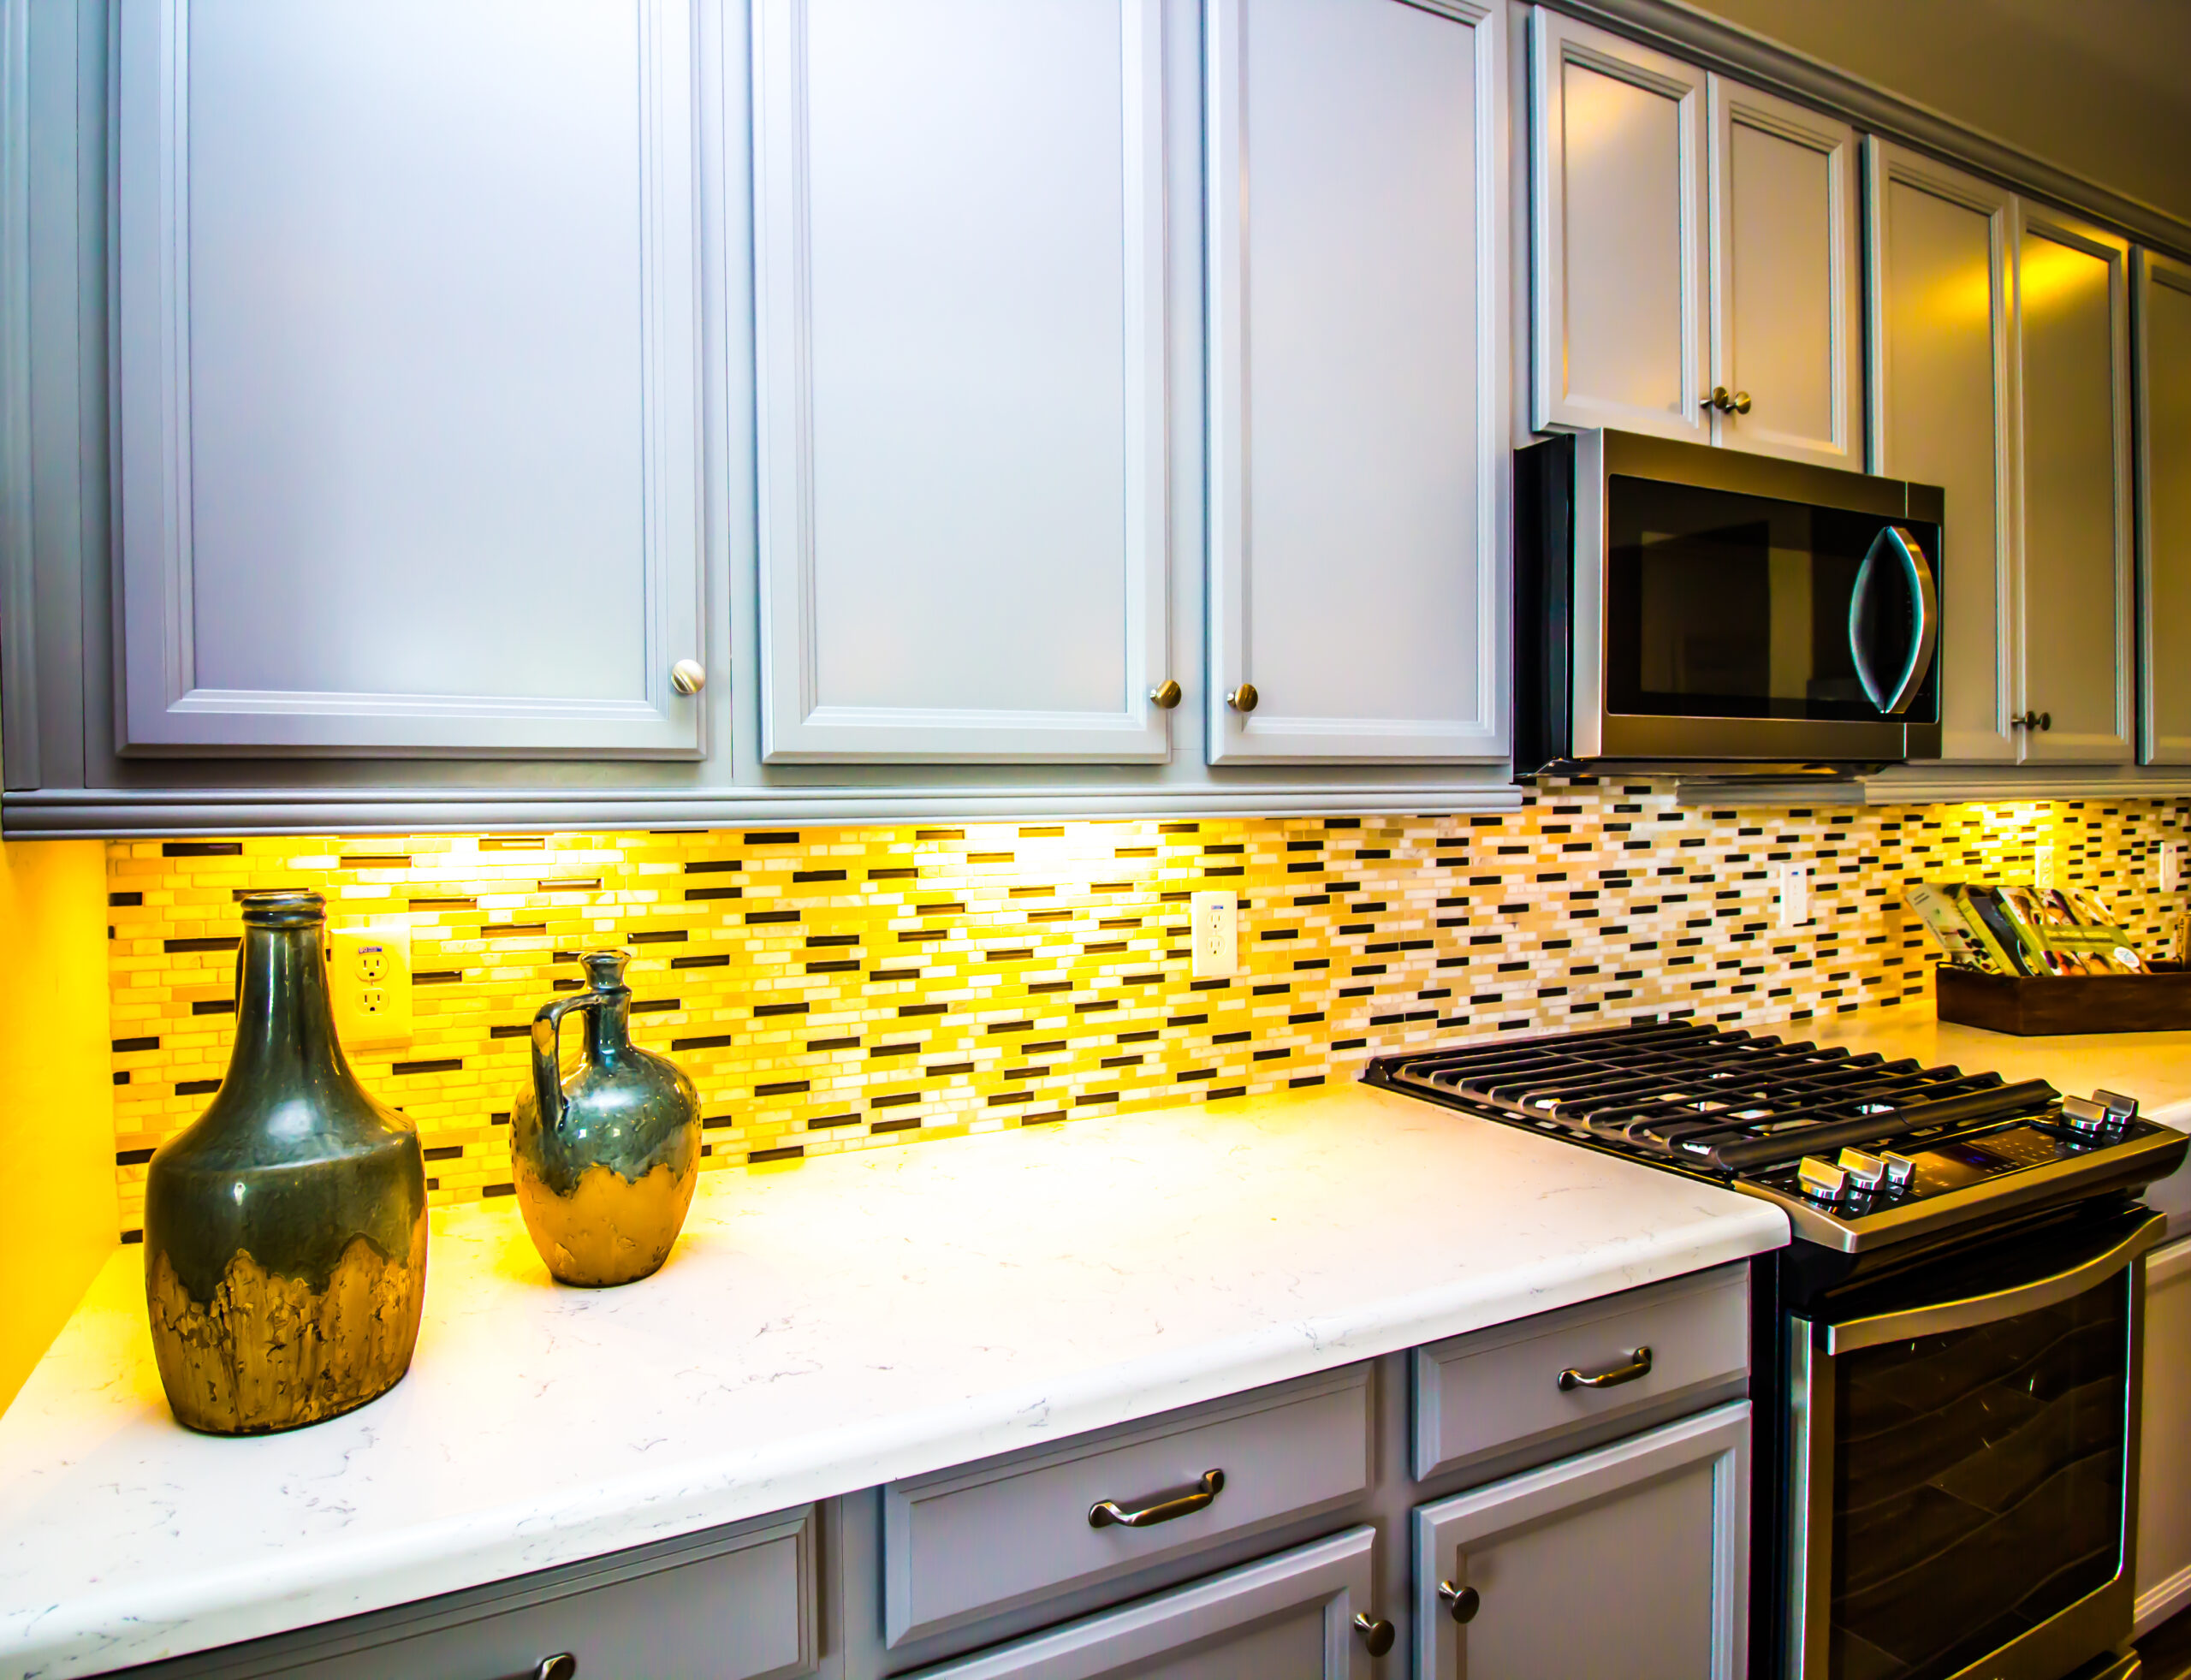
If you’re looking to upgrade your kitchen, an over-the-range microwave is a great addition. It not only saves counter space but also adds to the overall aesthetic of your kitchen.
However, installing an over the range microwave is often a daunting task for many homeowners. The good news is that with the right tools and a little bit of patience, you can install your over the range microwave like a pro.
In this step-by-step guide, we’ll walk you through the entire installation process, from preparing the area to mounting the microwave and testing it out. We’ll also provide you with some tips and tricks to make the process smoother and more efficient. So, if you’re ready to take on this DIY project, let’s get started!
Safety Precautions Before Installation
Before you begin installing your OTR microwave, it’s important to take the necessary safety precautions. Make sure to turn off the circuit breaker that powers the area where you will be
working. If you’re not sure which circuit breaker to turn off, turn off the main breaker to be safe. You should also wear safety gloves and goggles to protect yourself from any debris or dust that may be generated during the installation process.
You also want to ensure you have all the necessary tools. You’ll need a drill, a stud finder, a level, measuring tape, a screwdriver, and a pencil. It’s also a good idea to have someone to help you hold the microwave while you install it.
Measuring and Preparing the Installation Area
The first step in installing your OTR microwave is to measure and prepare the installation area. Measure the width of the space above your stove to ensure that the microwave will fit. You should also measure the distance between the bottom of the cabinet and the stove to determine the height at which the microwave should be installed.
Once you’ve measured the space, you’ll need to prepare the area for installation. Use the stud finder to locate the studs in the wall behind the installation area. Mark the location of the studs with a pencil. This will help you mount the microwave bracket securely to the wall.
Mounting the Microwave Bracket on the Wall
Once you’ve located the studs and marked their location, it’s time to mount the microwave bracket on the wall. Use the level to ensure that the bracket is straight.
- Mark the location of the screw holes with a pencil.
- Use the drill to make pilot holes for the screws.
- Then, use the screwdriver to secure the bracket to the wall. Make sure the bracket is securely mounted to the wall before proceeding.
Installing the OTR Microwave onto the Bracket
With the bracket securely mounted to the wall, it’s time to install the OTR microwave onto the bracket.
- Have someone hold the microwave while you attach it to the bracket.
- Make sure the microwave is level before securing it to the bracket.
- Use the screwdriver to attach the microwave to the bracket.
- Make sure that the microwave is securely attached to the bracket before proceeding.
Connecting the Power Source and Ventilation
Once the microwave is securely attached to the bracket, it’s time to connect the power source and ventilation. Follow the manufacturer’s instructions for connecting the power source and ventilation.
This may involve drilling a hole in the cabinet above the microwave for the ventilation duct. Make sure that the power source and ventilation are properly connected before proceeding.
Testing the OTR Microwave
With the power source and ventilation properly connected, it’s time to test the OTR microwave. Turn on the microwave and make sure that it’s working properly.
Test the ventilation to make sure that it’s properly removing steam and odors from the stove. If there are any issues, consult the manufacturer’s instructions or contact a professional for assistance.
Troubleshooting Common Installation Problems
If you encounter any issues during the installation process, don’t panic.
Common installation problems include uneven mounting, improper ventilation, and electrical issues. Consult the manufacturer’s instructions or contact a professional for assistance if you encounter any issues.
Now that your OTR microwave is installed, it’s important to keep it properly maintained. Make sure to clean the microwave regularly to keep it free of grease and food debris. Check the ventilation duct regularly to ensure that it’s free of blockages.
Microwave Repair and Services in Austin, TX
Installing an OTR microwave is a great way to free up counter space and add a modern touch to your kitchen. With the right tools and a little know-how, you can install your OTR microwave like a pro.
Follow these step-by-step instructions to install your OTR microwave safely and securely. If you encounter any issues during the installation process, or have issues with your microwave after installation, contact us at 512-351-7624 to request a service appointment. We’re open 24/7 for your convenience and offer same-day service.
continue reading
Related Posts

Refrigerators come in a variety of sizes and configurations. If you’re in the market for a new fridge, you may be wondering what size is right for your kitchen. There are a few different things to consider when it comes to choosing a refrigerator that is the appropriate size for […]

Garbage disposals can be very convenient. You rinse food scraps right off the plate or cutting board and run the disposal until they disappear down the drain. It keeps smelly food out of your trash and prevents your drain from clogging. However, this is only the case if your disposal […]
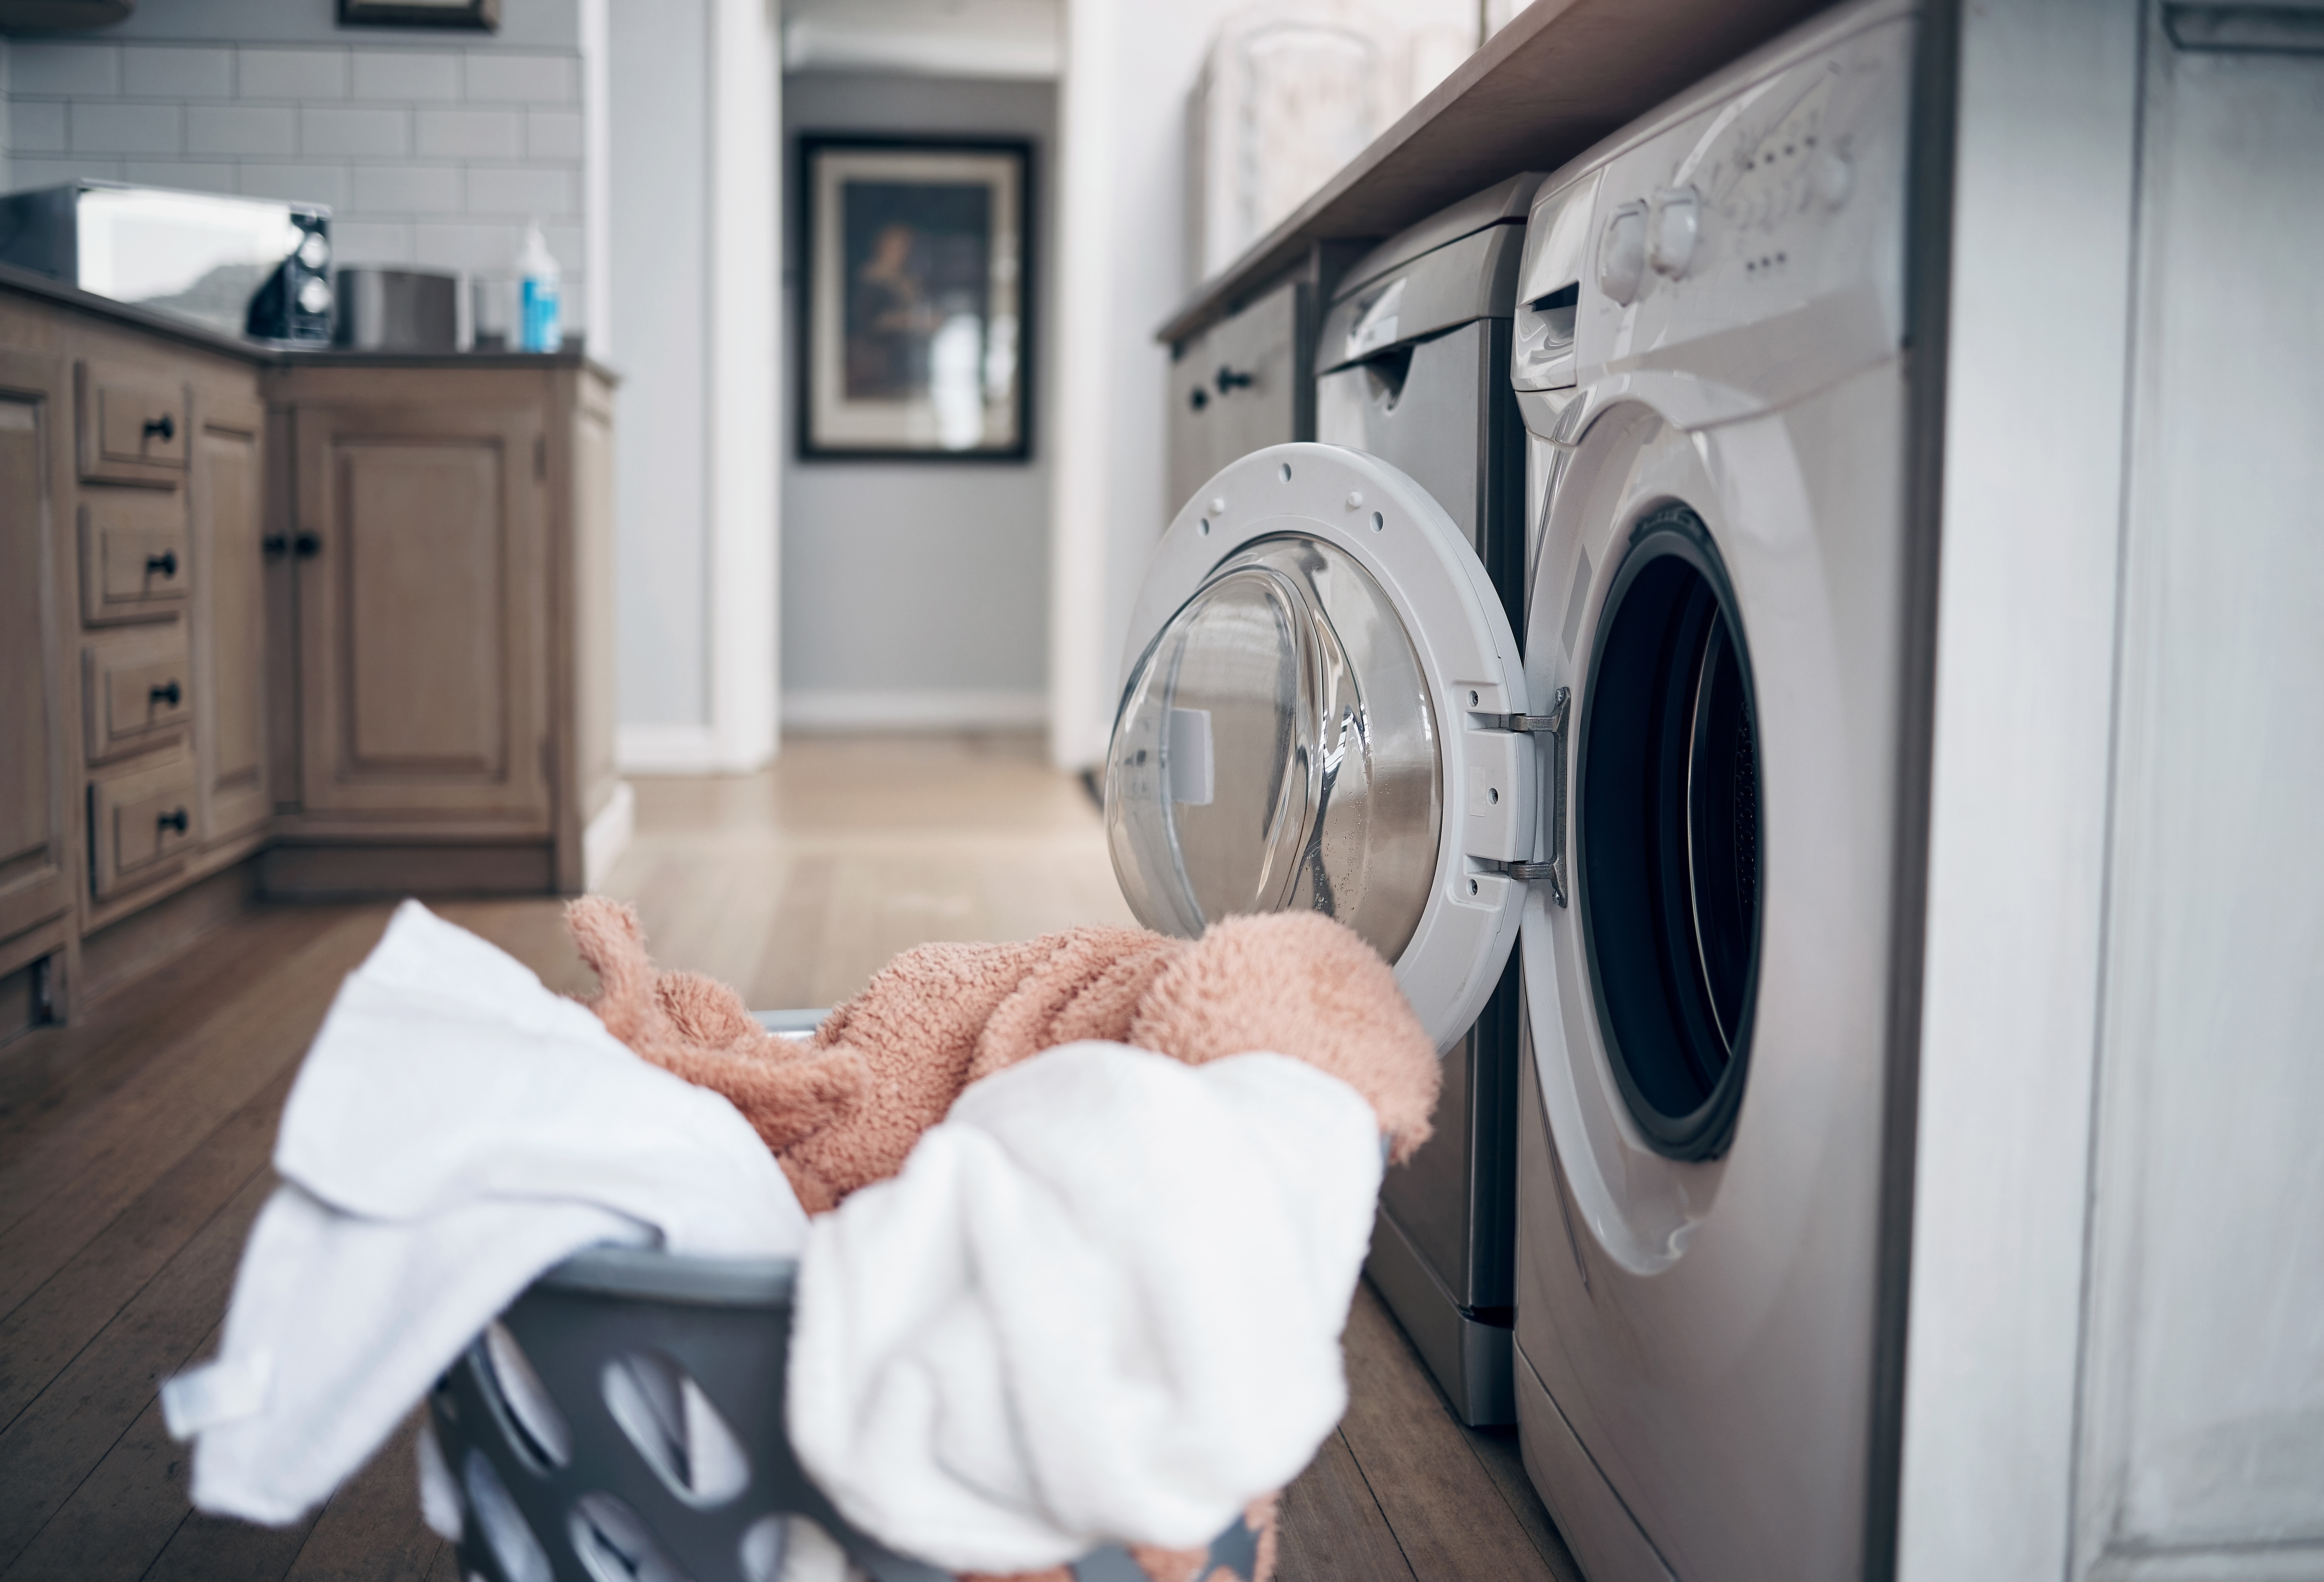
Washing machines have various cycles, all of which are controlled by a timer. The timer’s job is to tell the washing machine how long to stay on each part of the wash cycle and when to advance to the next step in the cycle. When the timer is broken, the […]